Balancing Image Quality and File Size in Everyday Digital Workflows
Most people working with images eventually face the same quiet frustration: a picture looks great on their device, but the moment it’s uploaded or shared, something breaks. Maybe the file is too large to send, or after reducing the size, the sharp details disappear. Finding that sweet spot between quality and file size isn’t just a technical choice; it’s something that affects designers, marketers, students, and anyone who uses visuals in their daily work.
Why this balance matters more than it seems
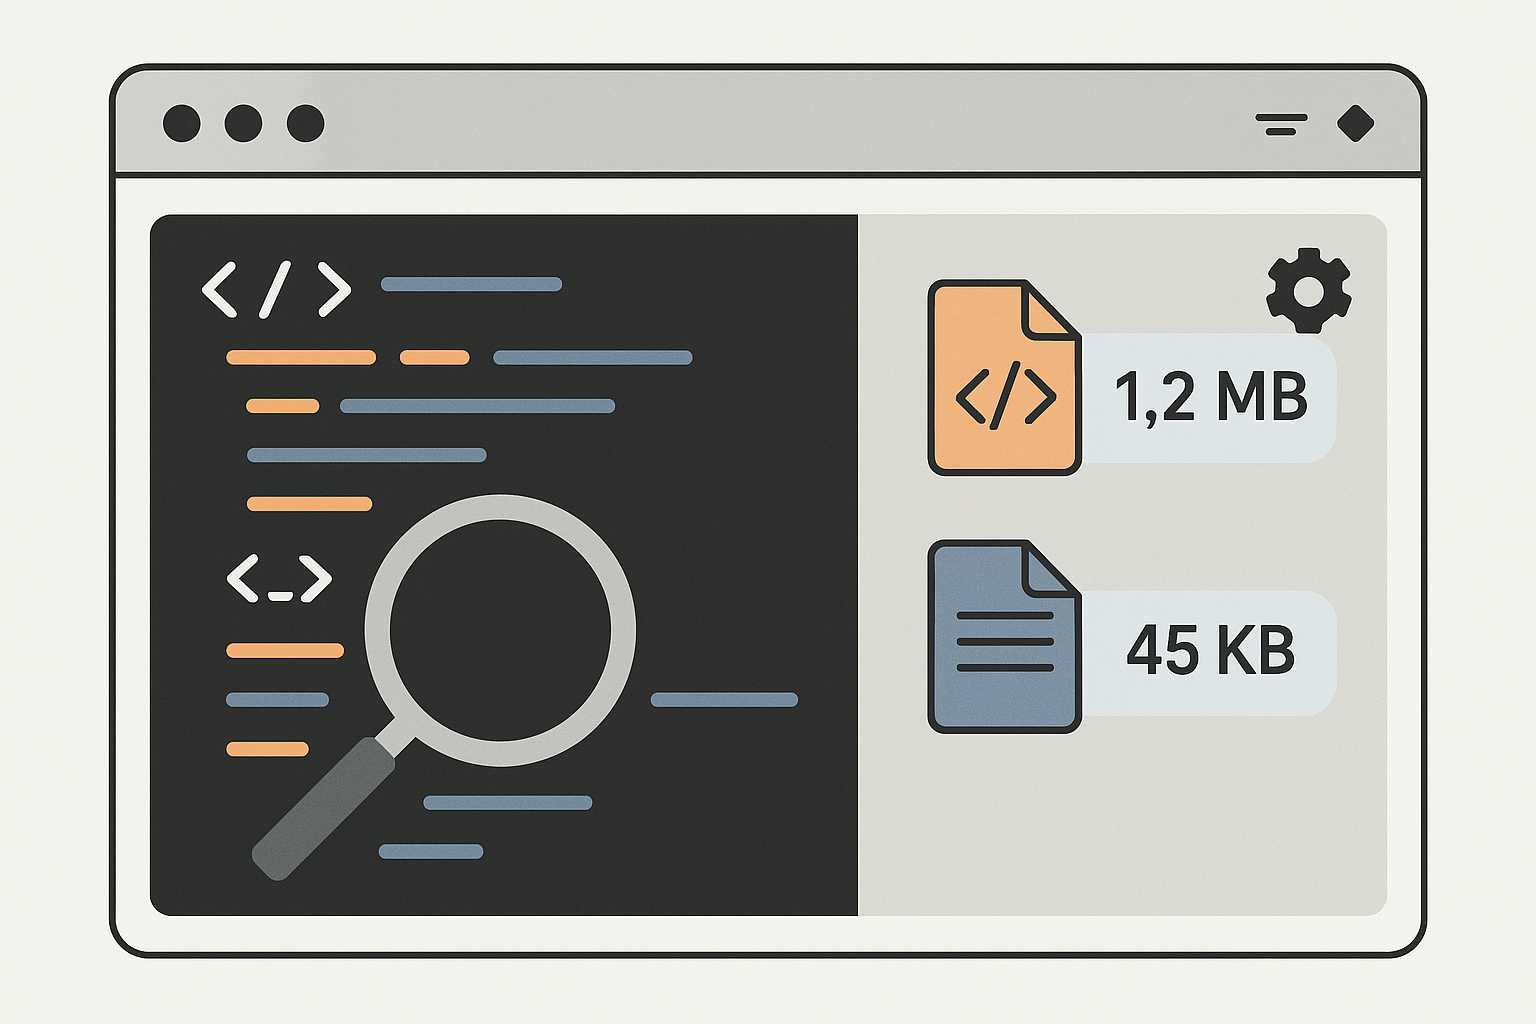
Image-heavy workflows usually start out simple. You snap a photo, export a graphic, or save a screenshot. But the moment those visuals become part of a website, a document, or a shared drive, size suddenly becomes important. Large images slow websites, strain shared folders, and make email attachments fail. At the same time, we rely on visuals to communicate clearly, so reducing quality too much becomes its own problem.
The challenge is that there’s no universal “perfect” setting. An image meant for a product brochure needs more detail than a quick training slide. A landing page hero image needs to look sharp at full width, but it also needs to load fast on mobile. Understanding that context is often more helpful than memorizing technical jargon.
Compression isn’t the enemy when used with intention
The word compression sometimes scares people off because it’s associated with quality loss. But compression is simply a tool—one that can be very subtle when handled well. A gentle reduction can trim file size dramatically without affecting the way an image looks to the human eye.
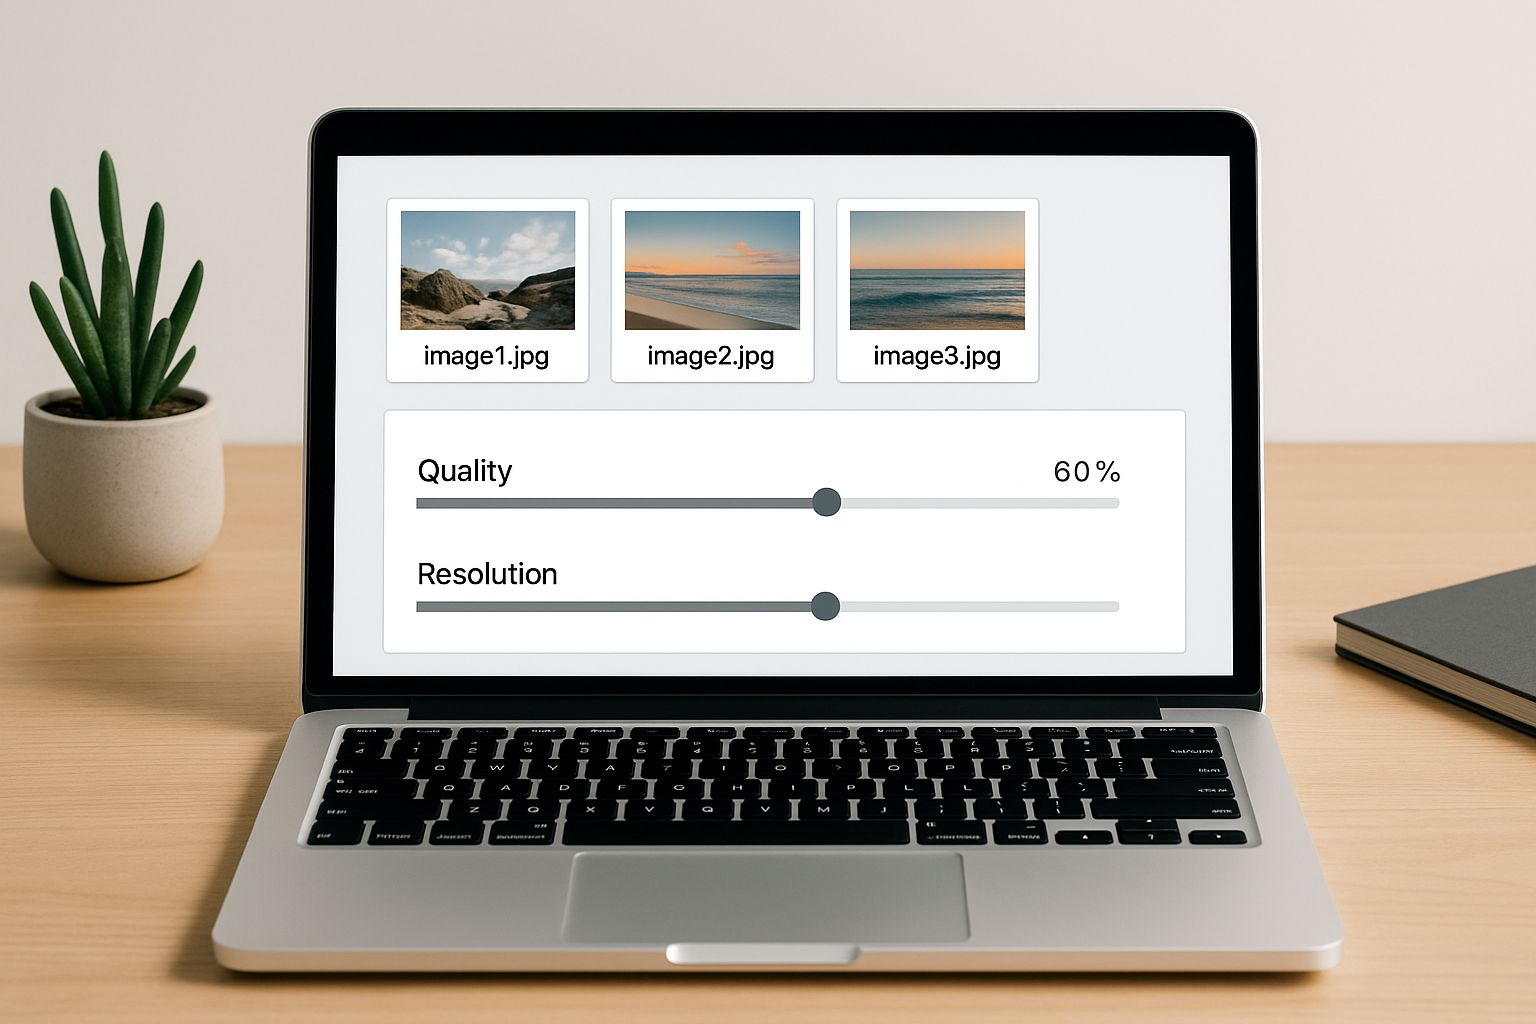
Most modern editors allow you to adjust export quality manually. Sliding from 100% quality to around 80–85% often cuts a large portion of the file size while keeping the clarity intact. This small adjustment is usually invisible in social posts, internal documents, or presentations where perfect fidelity isn’t necessary.
When working with batches of images, using a lightweight online utility such as this simple image compression tool can help you maintain consistency without fussing with settings each time.
Picking the right format without overthinking it
Most people stick with whatever format their device gives them, but choosing the right one makes balancing quality and size easier. JPEG continues to be a reliable option for photographs and realistic scenes because it compresses well. PNG is better for images with transparency or crisp edges like icons, UI elements, or diagrams. WebP is gaining traction for web use due to its efficiency, though compatibility still plays a role in some older systems.
The key is not memorizing every nuance but understanding the general behavior of each format. If you’re designing a poster, PNG may preserve cleaner lines. If you’re uploading vacation photos to a blog, JPEG keeps the balance right. And for web design work, switching to a more compact format can noticeably improve loading times without changing the layout.
Resolution choices that actually make sense
Resolution often feels like a mysterious setting, especially when devices throw around pixel counts that sound massive. But in daily workflows, the question is simpler: how large will the image appear?
A full-width banner on a website benefits from higher resolution because it's displayed on modern wide screens. But a small thumbnail or a decorative icon doesn’t need thousands of pixels. Sending oversized images increases file sizes for no functional gain.
For example, exporting presentation images at 1600px on the long side usually strikes a good balance. They remain crisp when projected but don't inflate the final file. Similarly, blog illustrations rarely require more than what the page layout accommodates. If you’ve ever opened an internal document only to find it’s 50 MB because one giant photo was inserted, you’ve seen the effect of ignoring resolution.
The role of optimization in team environments
When several people contribute images to a shared workflow, inconsistencies multiply quickly. One team member exports at maximum resolution, another uses screenshots, and someone else drops phone photos straight into the shared folder. The result is a mixture of heavy files and blurry ones, all within the same project.
Standardizing export settings—or at least aligning on basic expectations—helps prevent last-minute fixes. Teams working on web content often set informal guidelines like “keep images under 200 KB when possible” or “use consistent dimensions for article headers.” These small agreements reduce friction down the line.
If you’re interested in related techniques, the guide on adjusting image size without losing clarity explores additional scenarios where small tweaks have big impact.
When quality matters enough to keep files large
There are moments when file size isn’t the priority. Archival photography, print work, and professional portfolios often require maximum detail. In such cases, preserving the original resolution or using lossless formats like PNG or TIFF makes sense.
The trick is distinguishing between images meant for distribution and images meant for storage. An original raw file can be kept intact for future editing, while derivative versions—like the ones used in a slide deck or a blog post—can be optimized without hesitation. This layered method keeps quality where it matters but avoids burdening the rest of the workflow.
Finding the practical middle ground
Most everyday tasks sit somewhere between “perfect quality” and “tiny file size.” Balancing the two becomes easier once you build a natural feel for how formats, resolution, and compression interact. Instead of chasing exact formulas, it helps to test small variations. Export the same image at two or three settings and compare them visually. With time, you start guessing the right settings instinctively.
And if you often work with illustrations or diagrams, the article on shaping balanced aspect ratios dives into how proper proportions influence both aesthetics and usability.
A quieter, more thoughtful approach to images
Balancing file size and quality doesn’t require technical expertise. It just needs a thoughtful approach grounded in context. When you understand what an image is meant to do and where it will live, the right decisions come naturally. A few small habits—choosing formats intentionally, adjusting compression, and aligning on team expectations—go a long way toward making your workflow smoother and your visuals more consistent.
In the end, the goal isn’t perfection. It’s clarity, efficiency, and a workflow that feels lighter rather than heavier.